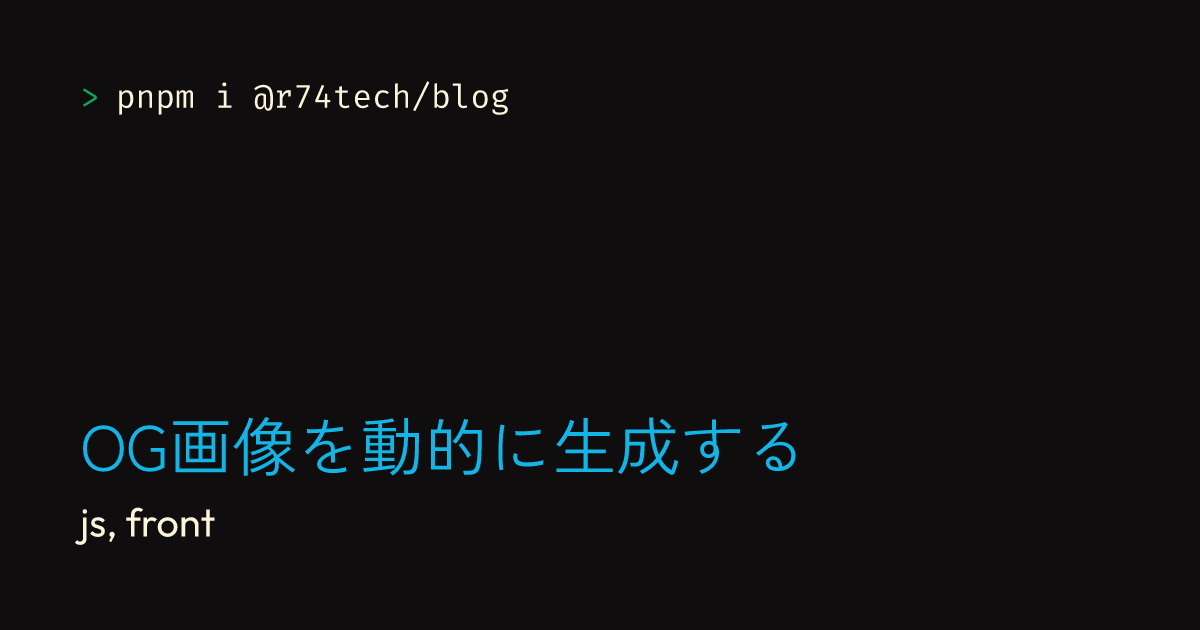
OG画像を動的に生成する
Twitter で見かける、技術系記事を自サイトでホストしている人達は華やかな OG 画像を載せている。実際、リンクを共有したときに表示されるのであれば記事の内容が一目でわかる。
このサイトは Jekyll で生成しており、Github Actions+Ruby で OG 画像を生成するとデプロイに非常に時間がかかるため、satoriと@resvg/resvg-jsを用いて OG 画像を生成する方法を考えた。
環境
1
2
3
4
@resvg/resvg-js 2.6.0
gray-matter 4.0.3
satori 0.10.13
satori-html 0.3.2
実装
markdown ファイルは以下のように、frontmatter を事前に設定しておく。
1
2
3
4
5
6
7
---
title: sample
slug: 2024-02-29-sample
tags:
  - sample
  - test
---
slug は記事の URL になる他、OG 画像のファイル名にもなる。また、tags は OG 画像の説明に使う。
以下のスクリプトは、\_posts ディレクトリにあるファイルを読み込み、frontmatter を元に OG 画像を生成する。
1
2
3
4
5
6
7
8
9
10
11
12
13
14
15
16
17
18
19
20
21
22
23
24
25
26
27
28
29
30
31
32
33
34
35
36
37
38
39
40
41
42
43
44
45
46
47
48
49
50
51
52
53
54
55
56
57
58
59
60
61
62
63
64
65
66
67
68
69
70
71
72
73
74
75
76
77
78
79
80
81
82
83
84
85
86
87
88
89
90
91
92
93
94
95
96
97
98
99
100
101
102
103
104
105
106
107
108
109
110
111
112
113
114
115
116
117
118
119
120
121
122
123
124
125
126
127
128
129
130
131
132
133
134
135
136
137
import { readdir, readFile, writeFile } from "fs/promises";
import { join } from "path";
import matter from "gray-matter";
import { Resvg } from "@resvg/resvg-js";
import { html } from "satori-html";
import satori from "satori";

const dir = "./_posts";
try {
  const files = await readdir(dir);
  for (const file of files) {
    const content = await readFile(join(dir, file), "utf8");
    const result = matter(content);
    await generateOgImage({
      title: result.data.title,
      slug: result.data.slug.toLowerCase(),
      description: result.data.tags ? result.data.tags.join(", ") : "",
    });
  }
} catch (err) {
  console.error("Error:", err);
}

async function generateOgImage({ title, slug, description }) {
  const svg = await satori(
    html` <style>
        div {
          display: flex;
        }

        .wrapper {
          display: flex;
          flex-direction: column;
          background-color: #0f0d0e;
          height: 630px;
          padding: 80px;
        }

        .top {
          display: flex;
          justify-content: space-between;
          align-items: center;
        }

        .bottom {
          display: flex;
          flex-direction: column;
          justify-content: flex-end;
          flex-basis: 100%;
          width: 90%;
          padding-bottom: 40px;
        }

        .install {
          font-size: 32px;
          font-family: "Fira Code";
          color: #f9f4da;
        }

        .install span {
          color: #0ba95b;
          padding-right: 16px;
        }

        .title {
          margin-top: 16px;
          font-size: 64px;
          font-family: "Zen Kaku Gothic New";
          font-weight: 400;
          color: #12b5e5;
          word-break: auto-phrase;
        }

        .description {
          margin-top: 16px;
          font-family: "Outfit";
          font-size: 40px;
          font-weight: 400;
          color: #f9f4da;
        }
      </style>
      <div class="wrapper">
        <div class="top">
          <div class="install"><span>></span> pnpm i @r74tech/blog</div>
        </div>
        <div class="bottom">
          <div class="title">${title}</div>
          <div class="description">${description}</div>
        </div>
      </div>`,
    {
      fonts: [
        {
          name: "Outfit",
          data: await readFile(
            new URL("./assets/fonts/outfit-regular.ttf", import.meta.url)
          ),
          weight: "400",
          style: "normal",
        },
        {
          name: "Fira Code",
          data: await readFile(
            new URL("./assets/fonts/firacode-regular.ttf", import.meta.url)
          ),
          weight: "400",
          style: "normal",
        },
        {
          name: "Zen Kaku Gothic New",
          data: await readFile(
            new URL(
              "./assets/fonts/ZenKakuGothicNew-Regular.ttf",
              import.meta.url
            )
          ),
          weight: "400",
          style: "normal",
        },
      ],
      width: 1200,
      height: 630,
    }
  );

  const resvg = new Resvg(svg, {
    fitTo: {
      mode: "original",
    },
  });
  const pngData = resvg.render();
  const pngBuffer = pngData.asPng();
  await writeFile(
    new URL(`./assets/img/og/${slug}.png`, import.meta.url),
    pngBuffer
  );
}
Jekyll 側の対応
このブログのテーマ側で、jekyll-seo-tagが使われているため、frontmatter にimageを追加することで OG 画像を指定できる。ただし、画像を追加すると記事の初めに画像が表示されるため、_layouts/post.htmlを修正する必要がある。
このブログでは、showを追加して OG 画像を表示するかどうかを指定できるようにした。
参考文献
This post is licensed under CC BY-SA 4.0 by the author.
